
Uploading your content is an important part to extend this library of reusable Elastic components. You can upload everything you believe is useful for other ELK users. Take care that you zip your content before uploading it. Because of security constrains we do not allow to upload json files directly.
Before your upload is available we will review the content. This is to make sure that it works with the latest version.
We also offer the possibilty to our users to deploy the content automatically into their Elastic Cloud environment. To make this available for your content you need to follow a few upload rules. Have a look into the Automatic Deployment section.
Possible content you can upload:
- Kibana Dashboards
- Kibana Canvas Boards
- Kibana Visualizations like Vega
- Kibana Devtools – Scripts
- Kibana Plugins
- Any other Kibana Saved Object
- Rules for the Elastic SIEM detection engine
- Elasticsearch Watcher definitions
- Elasticsearch Configurations
- Elasticsearch Ingest Pipelines
- Logstash Pipelines
Step by Step guide
The following guide explains the upload step by step.
- You need to have an approved content creator account. To apply for this account visit this page.
- After you got the approval mail go to the upload page and login.
- You will now see the form to describe your content. You have to fill in a name, a short and a long description, enter a category and upload your file.
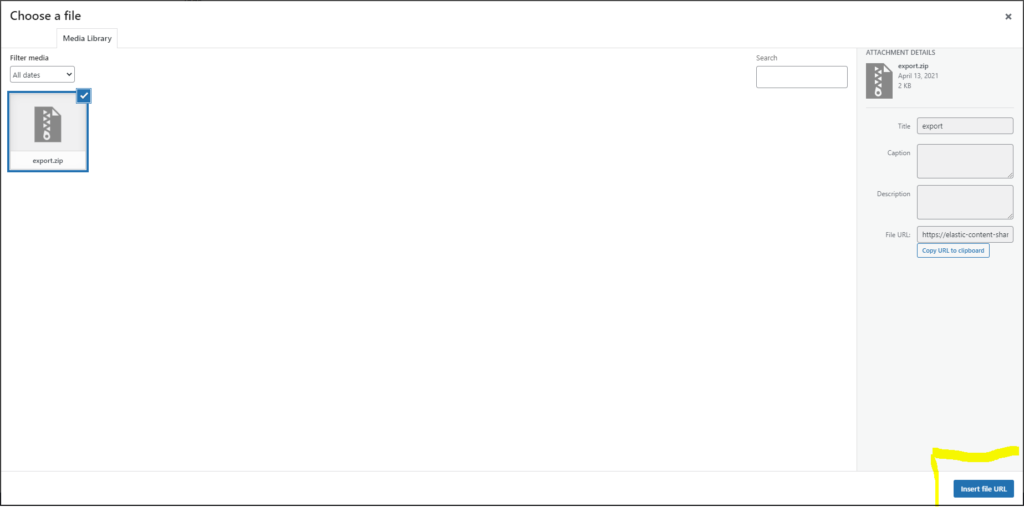
- When uploading a file make sure that you use a zip file for your upload. Also click on Insert File URL to make sure that it works. The below screenshot shows the upload screen.
- Submit your content. Afterward the elastic content share moderartors will review your content your accept it if it is working well. This can take a few days.
Automatic Deployment
The Elastic Content share offers the possibility to automatically deploy the content to Elastic Clusters. The only thing a user need to do is to enter the endpoint for the Elastic Cluster and the API Key as credentials. However the automatic setup only works for specific content and if it a created along the following rules.
To activate automatic setup for your content make sure you use this naming scheme:
For any kind of Kibana objects use the Saved Object Export functionality in Elastic Management. Do not rename this file. You can find examples is the Dashboards examples section. Also use this for Canvas. Do not use the direct Canvas export if you like to do the setup automatically. But you could add both. The direct canvas export and the export from the saved objects as well. The automatic deployment will detect which file it can use.
For any kind of Kibana Dev Tool script make sure that it is working within Kibana first. Afterwards you copy paste the full script into a file called devtools.script. Use Kibana Dev Tool scripts to deploy Transform Jobs, Watchers, Example Data and other Elasticsearch specific configuration. Find examples is the Watcher Download section.
Finally create a zip file containing all the files your content needs to have into its root folder. Use this zip file as upload. You can also upload other content within this zip file but this will not deployed automatically.
Make sure that you upload zip files. Because of security constrains we do not allow to upload json files directly.