
Elastic offers its Cloud Services also via AWS Marketplace. This helps to integrate Elastic into the existing AWS environments without the need to pay a different vendor.
In order to make it as easy as possible to onboard new users into Elastic and help them to collect data that is created within AWS – Elastic introduced AWS Cloud Formation templates. Using an AWS Cloud Formation template the user don’t need to setup the Elastic Agent manually. Everything will happen automatically.
Follow the upcoming steps to create your Elastic Stack deployment via Cloud Formation.
Create Elastic Cloud API Key secret
To be able to let the Cloud Formation template create your Elastic Deployment as well as all necessary services within AWS like the EC2 instance that has Elastic Agent installed you need to provide AWS access to your Elastic Cloud account.
This works by creating a new Secret within AWS and store the Elastic Cloud API Key in the secret.
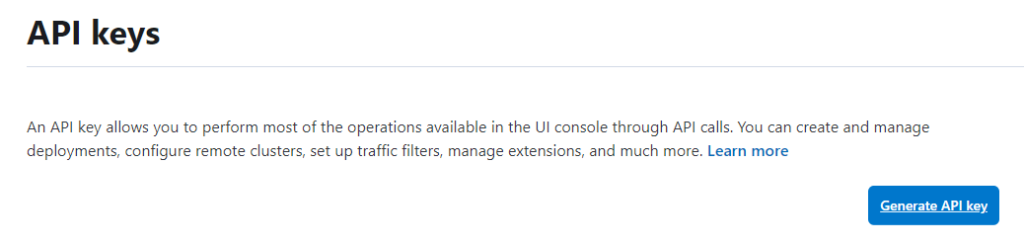
- Create a new Elastic Cloud API Key via Elastic Cloud Portal: Link to API Key Management
Path to get there manually: Elastic Cloud Portal -> Deployments -> Features -> API Keys - Create new Secret in AWS using the “Other type of secret” type: Link to AWS Secret Manager
Hint: You can use any value as key for the key value pair.
Create EC2 Key Pair
If you want to connect e.g. via SSH to the EC2 instance that is running the Elastic Agent you need to create an EC2 KeyPair first. But even if you don’t want to connect this is a necessary setting. You can add a KeyPair in the EC2 configuration UI in AWS.
How to fill the template correctly
The deployment process via template makes it as easy as possible for you to get started with Elastic Cloud in AWS. However you still need to enter the parameters correctly to be successful. Unfortunately there is no documentation of how to do that.
To make sure that your deployment process will be successful you need to fill in the right information in every field. Every field needs to be filled, otherwise the installation will fail.
In the Amazon Network configuration section you need to fill the VPC ID as well as Subnet you want to use. The Dropdowns help to find the right value, however its important to choose Subnets that are part of the chosen VPC. The UI allows you to choose Subnets that are not part of the VPC but the validation step of the Cloud Formation template will fail if its not correct. Subnet 1 and Subnet 2 can have the same value.
The Allowed EC2 external access CIDR needs to allow the traffic from Elastic Cloud. The easiest but unsecured way to set this up is using 0.0.0.0/0 . This will allow traffic from all IPv4 addresses.
In Amazon EC2 configuration you only need to choose the Key Pair name you want to use. The other values are fine to get started.
In AWS Quick Start configuration you need to enter the Secret Name as ARN. This means that you have to copy the Secret Name ARN from the Secret we have configured above that holds the API Key for your Elastic Cloud account.
If everything is filled in correctly you should see in your Elastic Cloud account that there will be a new deployment created. Also in your EC2 instances in AWS you should see a new instance that is popping up. You can check that the deployment was successful when clicking into Fleet in your Elastic Deployment Navigation. If you see two Elastic Agents installed and connected then everything was working fine.
Now you can add new integrations to the Elastic Agent. You can find all the Out Of the Box integrations in our Complete Guide to Out Of the Box content from Elastic.